Hello everyone.
Today we thought we would give you some projects with different sprays and mists.
There is a bunch of different companies out there, with their own mists or sprays
Some mists are pigments and others not. You can use them in different ways or combine them with other mediums. They are great for creating backgrounds, you can use them to change colors or make your own color to flowers... and the list can go on and on....
We in the DT has made some different projects, to hopefully inspire you to use your mists.
You can do big projects with lots of layers and really get your hands colored :-)
Or you can make some simple and less timeconsuming projects.
***
So here you have it.
Our projects for you :-)
*****
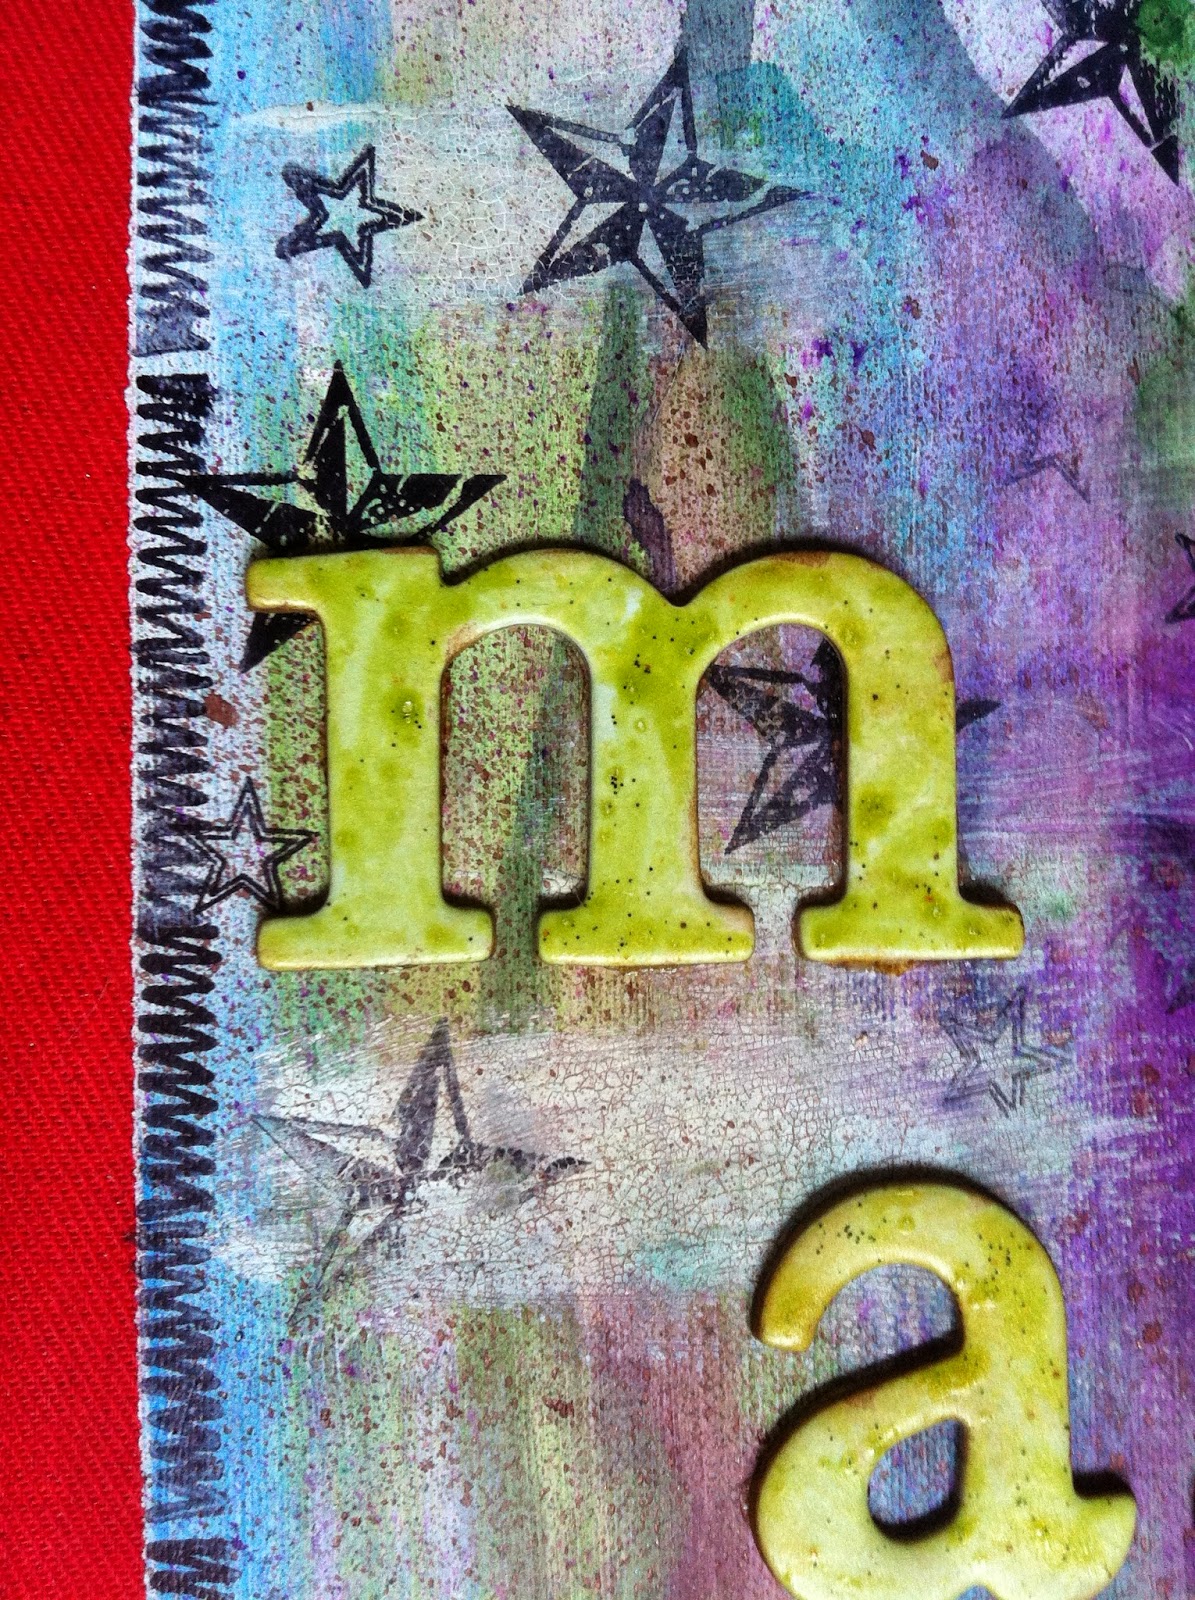
Jag fick fram alla mina varianter av färger och mister. Jag ville ha det enkelt och platt då jag vill kunna ta med pärmen i väskan när jag ska iväg.
Underst är det ett lager av gesso och sedan är det en salig blandning av distress ink, distress paint, cracklepaint, mister både hemmagjord och köpta, glimmermist och till sist är det lite stämplat med archival ink.
All that I got in the name of colour/mist/pigmet was put on my desk so it was easy to use whatever I felt for. I wanted to do something flat so I can travel with my binder.
Färgen har fått rinna lite samtidigt som jag har torkat med embossingfön, lager för lager. Stencilen använde jag först efter att några lager hade fått torka.
All the different colours has been allowed to flow out almost as they wanted while I've used my heating tool to dry layer by layer. I used the stencil after a few of the layers.
Chipboardbokstäverna tyckte jag var lite tråkiga i färgen så de fick lite glimmer glam glitter färg. Lite glitter skadar aldrig.
The chipboardletters was a little dull so I put some glimmer glam glitter paint on them. You can never get to much glitter on a project.
Her har jeg fått bruke litt av de forskjellige mistene jeg har. Det er for det meste Lindys Stampgang, Prima sine color bloom og Heidi Swapp- colorshine. I tillegg har jeg brukt distessink på de små stjernen og akrylmaling på den store
*******
With
this card I could use some of the different mists I have. For the most I
used Lindys Stampgang and Prima blooming colors, I also used a bit of
Heidi Swapp colorshine. On the smalll stars inside I also used
distressed ink and some acrylic paint on the big star.
***
Her har jeg rett og slett sprayet bakgrunnen med mist og deretter tatt med papirhåndkle rundt kantene.
Jeg brukte akrylmaling på denne store stjerna og sprayet over med Prima Pearl mist etterpå.
*******
On this one I just sprayed the background with two different colors, and kind of distressed the egdes with a papertowel and colorbloom. On this big star I just painted with acryic paint first and then sprayed it with Color bloom pearl mist.
***
On this one I just sprayed the background with two different colors, and kind of distressed the egdes with a papertowel and colorbloom. On this big star I just painted with acryic paint first and then sprayed it with Color bloom pearl mist.
***
Jeg sprayet ugla (som jeg har laget selv av fimoleire) med to forskjellige farger mist,
gikk deretter over med ett par farger copic på føtter og nebb og rundt øynene.
*******
This owl I made of fimo clay and silicone form, I sprayed it with two different mists and then I went over it and did some coloring with my copic around the eyes and the yellow parts.
***
This owl I made of fimo clay and silicone form, I sprayed it with two different mists and then I went over it and did some coloring with my copic around the eyes and the yellow parts.
***
Her har jeg farget med to forskjellige distress ink på et papir, punchet ut stjernene og tilslutt sprayet over med Heidi Swap colorshine- gold.
*******
I colores some paper with two different distress ink on a paper, then punched out the stars and finally sprayed over them with Heidi Swapp , gold color shine.
***
I colores some paper with two different distress ink on a paper, then punched out the stars and finally sprayed over them with Heidi Swapp , gold color shine.
***
nærbilde av stjerna, man ser kanskje ikke så godt at det skinner av den
******
Here is a closed up of the small stars, but you can`t really see the shimmer on it.
***
Jeg valgte å gå enkelt ut i dag... med en ATC fra Prima som utgangspunkt..
I wanted to make something easy today..
so with a ATC from Prima as a starting pointI was good to go
Jeg brukte mister fra Color Bloom (de to ulike gull), en iron glimmermist og litt rosa pigmentpulver fra maikitet mitt.. Har også brukt masse stickles Crystal... Stemplene jeg har brukt er fra Santorini og Scrapomania, tekster er satt sammen av tre ulike Scrapomania stempler..
Hadde det veldig moro med denne her, og så er det jo også gøy å bruke de samme mistene til å farge med.. Så dette ble en liten AJ ATC fra meg.. :D
I used mists from Color Bloom (the two metallic gold), iron (black) from Ranger and a pink pigmentpowder from my maikit.. I have also used stickles crystal.. And the stamps are from Santorini and Scrapomania.. the words are put together from 3 different Scrapomania stamps..
I had so much fun making this.. and to use the mists to color with gives them a whole new life... So this was a little AJ ATC from me...
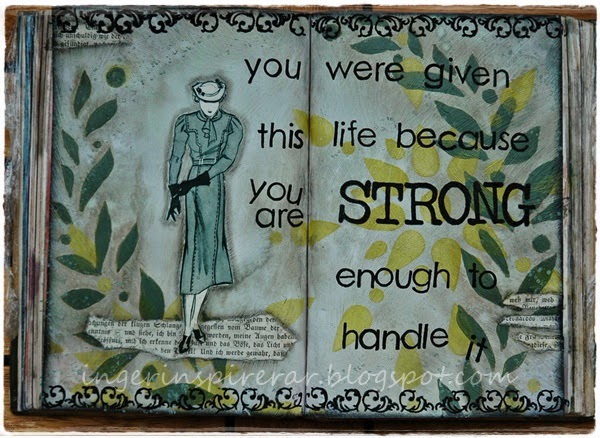
Det blev ett uppslag i en av mina altered books med tema citat tillsammans med bilder från riktigt gamla veckotidningar.
Jag började med att välja citat samt en bild som matchade. Bilden är underbar, man ser verkligen hur stark hon är! Färgpaletten var alltså redan avgjord. Jag gillar grått men använder det inte så ofta i mitt skapande så jag uppskattade utmaningen. Gröngrått alltså och mister i de nyanserna plockades fram. Det man tyvärr inte ser på bilden är hur det skimrar. Du får föreställa dig det. :-)
Sprejade med grön och grå mist. Använde en lövstencil och sprejade med grönt. Ville att det skulle synas mer så jag plockade fram akrylfärgen istället. Bilden samt bitar ur en bok limmades fast på sidan med matt gel medium försiktigt. Målade skuggor med grå chalkpenna. Stämplade med svart dyna och avslutade med lite gröna duttar i akrylfärg.
This is a spread in my altered book themed quotes combined with images from really old magazines.
I started out with choosing a quote and a image that matched it. I think the image is wonderful, you can really see how strong she is! Hence, the image is what decided the colour palette. I like grey but I don't often create with it so I liked this challenge. The colour is greenish grey and I pulled out some mists that would match. What you unfortunately don't see in the picture is she shimmer.
I suggest you put your shimmer glasses on! :-)
Sprayed with green and grey mists. Used a leaf stencil and sprayed with green. Wanted more definition so I grabbed some acrylic paint instead for the stencil. The image and some pieces of book pages was glued onto the page with matte gel medium, carefully since it's not water proof. Outlined with grey chalk pen. Stamped the quote and the edges in black ink.
Stamped some dots with acrylic paint.
Jeg har laget en tag. Bakgrunnen er et gammelt ark med tekstmønster. Det er farget med dylusion spray. Så sprayet jeg vann på tagen og spredte saltklumper over den. Saltet tiltrekker seg vannet og lager en litt morsom effekt i den våte malingen. Det grønne båndet er en gammel blonde som jeg har farget med dylusion spray og krøllet.
I have created a tag. The background is an old text patterned paper, coloured with dylusion spray. Then I have sprayed water onto the tag, and added sea salt. This creates pattern in the wet ink, while it is drying. The green band is a lace, coloured with dylusion spray.
Øyestikkeren er laget ved å stemple to øyestikkere på blank plast. Baksiden av plasten er farget med alkohol blekk, og øyestikkerne er klippet ut. Jeg limte de over hverandre for å skape effekten av et dobbelt vingepar. På toppen av vingene limte jeg en piperenser for å lage kroppen til øyestikkeren.
The dragonfly is created by stamping two dragonfly onto clear acetate. Then I coloured the back of the acetate with alcohol ink, and cut out the two dragonflies. They were glued on the top of each other to create the double wing effect. I then added a pipe cleaner to make the dragonfly body.
I took a class whit Cards by Camilla, and it was really fun to something different
and out of my Comfort zone.
Tilda is colored with Distress re-ink.
I have used cat eye to brush all the edges.
I have stamped the motifes and text
with VersaFine ink.
Enkle og lette tager med stempler fra AHA kolleksjonen og Ashley G. På bakgrunnen har jeg brukt Dylusions stempler som jeg har sprayet på en non stick matte for så å dra tagene gjennom blekket. Kun for å skape en litt annen effekt en det jeg normalt får når jeg bruker disse sprayene. Stemplene har jeg stemplet med Archival og Distress blekk.
Simple and easy to make tags with the new stamps from AHA collection and Ashley G. I have used Dylysions sprays on a non stick mat and draged the two tags throught the ink, just to get a little different backgrounds than I usually get with using these sprays. I have stamped the motifes with Archival & Distress inks.
***
Enjoy the inspiration from our designteam,
and please leave a comment if you have something to say :-)


No comments:
Post a Comment