Julen kommer raskt, og vi på ARTsy-teamet har allerede begynt med julekort og juleprosjektene! Denne gangen har vi lyst til å inspirere leserne våre med artsy veggpynt, tager og ikke minst kort og Art Journal.
Christmas is coming, and we have already started with our Christmas cards and projects. This time we would like to give our readers a heads up for the holiday, and maybe give you inspiration to make wallhangings, tags, cards and Art Journal-pages for Christmas.
Vi har vært så heldig å få noen bidrag av en dreven og ikke minst super ARTSY dame ved navn Kristin Kolle. Hun har en fantastisk stil, og kan nok inspirere veldig mange av våre lesere. Dette skriver Kristin om seg selv...
Jeg har vært glad i hobbyer så lenge jeg kan huske, men fant først kortlaging i
2001. Stilen har virret litt, men jeg har vel alltid foretrukket litt mer artsy
stil. Av en eller annen grunn har jeg fått høre at artsy stil er det samme som
brune kort og prosjekter. Slik har det aldri vært med meg. Jeg foretrekker rødt,
grønt og blått framfor brunt og liker sterke farger på prosjektene mine.
Hvis jeg skulle nevne favorittproduktene mine, er bladgull, alkoholblekk og
perfect pearls på topp. Og en ny favoritt er Dylusions sprayer. Fargene og
teknikkene man kan få til med dem er helt fantastiske!
This time we have a new guestdesigner, who knows all about ARTSY. Her name is Kristin Kolle, and we are sure that she will inspire many of our readers. This is what Kristin is saying about her self...
I have been in love with hobbies as long as I can remember, and discovered cardmaking in 2001. I have had many styles, but have to say that I have always liked the artsy style the best. I have often heard that artsy cards and projects should be brown, something I never did. I love colors like red, green and blue. If I have to mention some favorite products it has to be gold leaf, aloholic inks and perfect pearls, additional to Dylusions sprays. I love the Dylusions colors and techniques!


Alle tre bokstavene er Grungeboard som er malt
med gull akrylmaling. Bakgrunnene er laget på coastere. På den første coasteren
har jeg brukt dylusions spray og stensiler for å få til effekten. På den andre
coasteren har jeg brukt flere forskjellige mediumer - glass pearl medium,
crackle medium og extra heavy gel medium. På den siste har jeg først
brukt matte medium, gamle boksider og stensil for å lage sirkeleffkt, i tillegg så er det brukt Dylusions sprayer. Alle tre coasterne er kantet med bladgull påført litt
"distress"-aktig.
All three letters are grungeboard-letters that I have painted with gold acrylic paint. All backgrounds are coasters med with different techniques. First one is made with Dylusions sprays and stensils in order to get the right effect. On the second I have used different mediums like glass pearl medium, crackle medium and extra heavy gel medium from Golden. Third one is made with old bookpages, gel medium and stensils, additional to Dylusions sprays. All three coasters have gold leaf on the edges!
Stempelet er stemplet på transparent og påført dobbelsidig limark på baksiden.
Så har jeg "malt" det med perfect pearls og bladgull. Bakgrunnen er sprayet med
Dylusions blekk og effekt laget med stensiler. I hvert hjørne er det stemplet
opp et tekststempel med Versamark og påført Perfect Pearls. Langs med den ene
kanten av denne tilfeldige stemplingen har jeg laget en "foss" av micabiter og
bladgull.
The stamp are stamped on to a acetat paper where I have added a double-sided adhesive paper. I have painted the motif with perfect pearls and gold leaf. Background is made with Dylusions ink and stensils, and in each corner I have stamped a text with Versamark where I have added some perfect pearls. I have also added a "waterfall" made of mica pieces and gold leaf.
På dette kortet har jeg laget en bakgrunn av boksider limt ned med matte
medium. Jeg har lagt et nytt lag med medium oppå og latt det tørke, for så å
farge det med alkoholblekk. Stjernene er stanset ut og påført metalltape. Jeg
har embosset dem og farget dem i gul- og oransjetoner med alkoholblekk. Motivet
er fargelagt med distress reinkere og H2O.
Background is made with old bookpages and multi-medium matt, and I have added an extra layer on top after drying in order to add aloholic ink on top. Stars is die-cuts where I have added metal tape that I have embossed and colored with yellow and orange aloholic inks. Motif is colored with Distress reinkers and H2O colors.
Tagen måler 8cm x 16cm. Den er dekorert med gesso og Shimmerz ink spray i fargen "My bleeding heart". ¨For å lage hjertene har hun brukt en stensil fra TCW - "Dina's spilled hearts". Hjerter fra Pink Paislee - Artisan Chipboard, som også er sprayet med "My bleeding heart".
Tag is #8 in size. It's decoraed with gesso and Shimmerz Ink Spray "My bleeding heart". To create the hearts she's used a stencil from TCW - "Dina's spilled hearts". Heart from Pink Paislee - Artisan Chipboard heart also sprayed with Shimmerz.
Julestjerne brettet av hvitt papir. Så farget med vann & Shimmerz Ink Spray - "My bleeding heart", "Valentino", "Mon Shari" og "Princess". Stemplet med tekst-stempel fra Studio 490. Brettet et pinweel av restepapir, satte på et glansbilde, litt glitter og twine.
Christmas star folded out of white paper. Colored with water and Shimmerz Ink Spray - "My bleeding heart", Valentino", "Mon Shari" and " Princess". Samped words with stamp from Studio 490. Created a pinweel from leftovers, added some glitter, an angel and some twine.
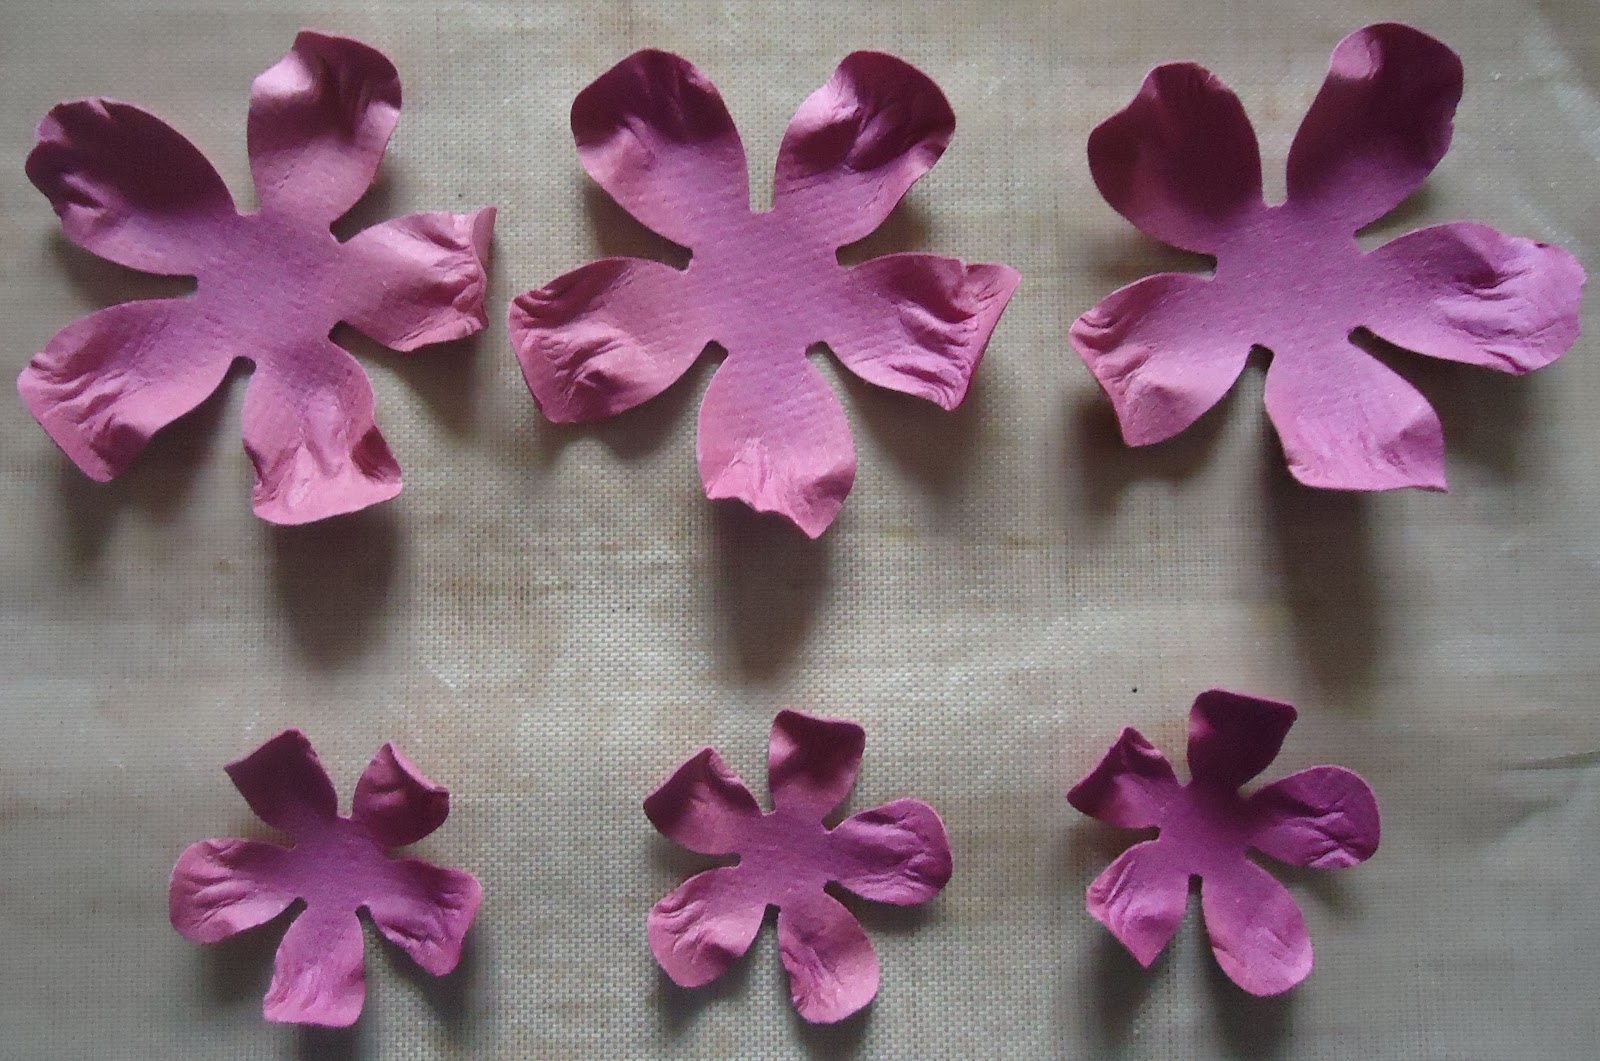
Allt papper kommer från min restlåda. Bakgrunder bla gjorda med maskeringstejp, akrylfärg och embossingpulver. Stämpeln är målad med distress reinkers. Blomman är gjord av tyll och organza.
All the papers are from my box of leftovers. Backgrounds made with tape, acrylic paint and embossing powder. Stamp painted with distress reinkers. Flowers made of tulle and organza.
Restpapper. Bakgrunder bla gjorda med distress, pearl ex, akrylfärg och pearlescent medium. Stämpeln är målad med distress reinkers.
Left over papers. Backgrounds made with distress, pearl ex, acrylic paint and pearlescent medium. Stamp painted with distress reinkers.
Bakgrund av gesso och distress reinkers. Stämpeln målad med distress reinkers och pearl ex. Heated tyll och fantasy fibers framför motivet.
Background made with gesso and distress reinkers. Stamp painted with distress reinkers and pearl ex. Heated tulle and fantasy fibers in front of the motif.
Jeg har brukt Dylusions sprayer, stensiler og stempler på denne jule Art Journalen. Alle bokstaver er skrevet for hånd, og jeg har også drodlet for hånd.
I have used Dylusions sprays, stensils and stamps on this Art Journal page with Christmas theme. All writings are handwritten, as well as the drodeling.
Denne tagen er laget med Dylusions sprayer og stempler, og selve tagene er fra Ranger. På midten av den store tagen har jeg festet en mindre tag som er brettet sammen til en "konvolutt". Teksten er stemplet på sticky back canvas fra Claudine Hellmuth.
This tag is made with Dylusions sprays and stamps, and the tags are from Ranger. In the middle of the big tag I have added a smaller tag and folded it into an "envelope". Text is stamped on to a sticky back canvas sheet from Claudine Hellmuth.
Hope we have inspired all our readers to make
wonderful artsy projects for Christmas!
We wish you good luck, and be happy to add a link to your project!


.JPG)

.JPG)


