Thursday, April 12, 2012

Tutorial- Free Standing Card


I hope you all had a great Easter.  
This Easter I made a tutorial at my cabin 
and I will love to show off how I made it....
(so sorry for some bad pictures, it's taken by my Iphone )


You will need this tools to make this card:
*Paper trimmer
*Bone folder/score board
* Scissors
*Cardstock
*Pattern paper
*A motif or text
*Glue and tape
*Embellishment

******************************************************************************'

Start with the cardstock. 
Cut the cardstock at  6"x 11" (15,3 cm x 28 cm)
and then score at 1" , 2.3/4", 3.3/4", 5.1/2", 7.1/4", 8.1/4 and 10" 
( 2, 5 cm, 7 cm, 14 cm, 18,5 cm, 21 and 25,5 cm)


 ******************************************************************************

Cut the pattern paper at 
3/4" x 5.3/4 " (2 pieces)
You will see at the pictures that I used four pieces, but
you just need two pieces...
(2 cm x 14,5 cm )

1 1/2" x 5.3/4" (4 pieces)
(4 cm x 14,5 cm)


**********************************************************************

 Distress all  the edges and glue all pattern papers to the folded cardstock.


***************************************************************************


On the middle 5.1/2 score line, make a mark at 1" and 5"
Cut  between 1" and 5" to make a slit for your tag.


*********************************************************************************


Now you have to start with you tag- the one who stands up when you 
opening the card.
My motif  is 3. 1/8 x 4. 3/4 (8 cm x 12 cm) and little bigger after
added another panel behind.


As you can see I have left some space in the bottom of the motif where 
I can glue it together with the card.....


******************************************************************************


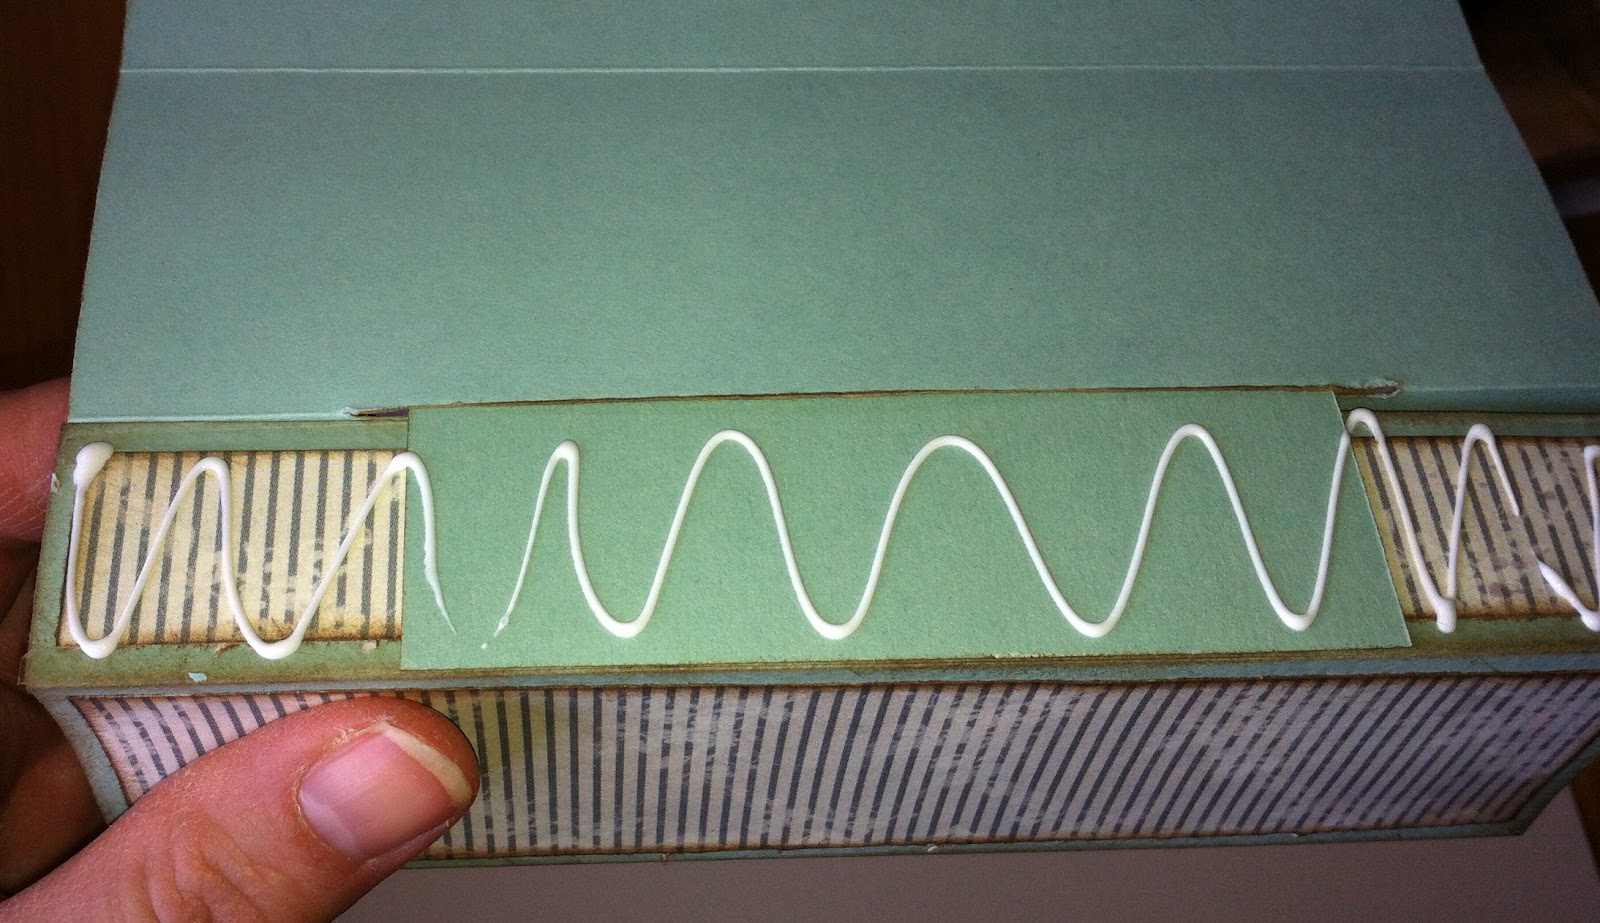
Apply sticky strip at the  1" end of the cardstock


*******************************************************************************


Slide the tag into the cut slit and attach tag to the sticky strips.


******************************************************************************


Attach glue to the 1" cardstock base and glue the other 1" section to finish your card.


********************************************************************************


Decorate your free standing card as desired.


My card folded flat


I hope you enjoyed my tutorial and that you will give it a try :O)
If you do, remember to mail us your free standing card and we will show it off at 
the Readers Gallery:
stampartic@gmail.com


Hugs DT Lene


Monday, April 9, 2012

Corrugated cardboard

Back from Easter holiday, and ready spring?!

This article is all about corrugated cardboard.

Yes, that's right! Corrugated cardboard in all different styles & forms. Everybody has them, even if it's and old box standing in the corner. They make awesome additions to your card, layouts, art journals and not to forget mixed media projects. And, the fun thing is they can be decorated with EVERYTHING from gesso and acrylic paint to sprays and metallic mists.

Just take a look at what ARTsy team has been doing during Easter....

Tilbake fra påskeferie og klare for våren?!

Her kommer ARTsy teamet med
en artikkel om bølgepapp

Jepp! Du leser riktig, bølgepapp er temaet denne gangen! Vi har lekt med bølgepapp i forskjellige former og stiler, og alle har vel noe bølgepapp gjemt unna uansett om det kun er en gammel pappeske i kottet. Bølgepapp er kjempe flotte elementer til kortene dine, Lo'ene dine, art journalen din og ikke å glemme mixed media prosjektet ditt. Det som er ideelt med bølgepappen er at den tåler en hel del og du kan malen den, spraye den og gjøre stort sett det meste.

Bare se hva ARTsy-teamet har gjort i påsken...

Inger's cards...

Corrugated cardboard on lumiere background.
Bølgepapp på lumiere bakgrunn.

Acrylic paint, wax crayon heated and splattered over the cardboard.
Akrylmaling og vokspasteller på bølgepapp.

Silje's cards...

Kobling
Corrugated cardboard with gesso, colorwash and perfect pearls mists.
Bølgepapp med gesso, colorwash og perfect pearls mists.


Corrugated cardboard with gesso, shimmerz vibez, colorwash and perfect pearl mists.
Bølgepapp med gesso, shimmerz vibez, colorwash og perfect pearl mists.

Mikaela's cards...


Kobling

Both cards has corrugated cardboard with gesso and metallic paint.
Begge kort har bølgepapp som er påført gesso og metalikk maling.


Limogglitter's cards...

KoblingDistress Ink and Gesso on corrugated cardstock.
Distress blekk og gesso på bølgepapp.


Alcohol ink, metal tape and corrugated cardstock.
Alkoholblekk, metall tape og bølgepapp.

BelleMio's cards...


Corrugated cardboard with glitter and and paint.
Bølgepappen er påført glitter og maling.

Connies cards...


Both cards are made with Dylusions sprays from Dyan Reaveley and Ranger Ink.
Begge kort er laget med Dylusions sprays fra Dyan Reaveley og Ranger Ink.

ARTsy-team hope that you liked our cards, and that you can take with you some inspiration on how to use corrugated cardboard in different ways :-)

Please leave a comment and show us your cards, tags, ATC's or anything else :-)

Winner of April Challenge

We got over 35 projects for the april challenge! Amazing work everyone, thank you so much. But there can only be one winner. 
*
*
*
*
*
*
*
*
*

The winner is: 


*
*
*
*
*
*
*
*
*
*
*
*
*
*
*
**
*****
********
**********


Please e-mail your address  to stampartic@gmail.com so we can send you your prizepackage!

Sunday, April 1, 2012

April Challenge

Now we are all ready for the april challenge!
This time it´s my turn (Henrikke) to have the challenge. And since it is my birthday in april I want you to make a birthday card for a girl. But not only that, you also have to play BINGO with us. You can do it any way you like, horizontal, vertical or diagonal! That´s up to you.


PLEASE READ THE WHOLE CHALLENGE. YOU HAVE TO MAKE A BIRTHDAY CARD FOR A GIRL AND USE THE BINGO, NOT JUST ONE OF THEM!!!


The prize is this time sponsored by Kortgleder! They will give you stamps from the new collection in the store. 


So look at all the amazing work the DT´s have done. Maybe you get inspired to do the challenge as well. Remember, DEADLINE is the 8th of april at midnight (CES- Central European Summer time). 

Lene
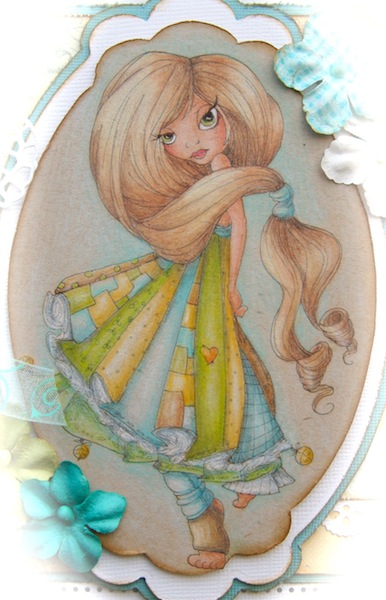
I have used the row 
FLOWERS- DOILY-3 DIES/PUNCHES


I have used the line: Tag-Stamp-Brads/Pearls. On my card I have used Tilda from the Bon Voyage Collection. The background and the pelikan are from the same collection. The text stamp is from Lily of the Valley. All the papers are from Maja Design Colletion, "Skjærgårdsliv" or in english "Life by the Sea". The tag is from Tim Holtz. 


I´ve used the row FLOWERS-STAMP-RIBBON
combined with a digi from Saturated Canary and papers from Pion.


My row is FLOWERS-STAMP-RIBBON

007


Minna
I have used the row FLOWERS-TAG-CHARM and also the row FLOWERS-STAMP-RIBBON

Eva
I´ve used diagonal row Flowers/ stamp/ribbon:


 Please use Mr Linky to participate, deadline for this challenge is midnight April 8th.
Good luck with your new projects:)