

Artsy teamet har denne gangen jobbet med Distress Stain som er de nye produktene til Ranger. Dette er et produkt som er helt uavhengig av blekkputene og refillerne. Men har de samme fargene! Distress Stain kan brukes til utrolig mye og vi skal nå vise dere 2 teknikker som er helt supre å bruke de til.
Artsy team have been working with Distress Stain who are the new products from Ranger. This product come in the same colour as the stamp pads and re-inkers, but stands on it's own as a great product. With Distress Stain comes endelss possibilities and now we will show you 2 different techniques that are great for Distress Stain. Here are 2 tutorials ; )
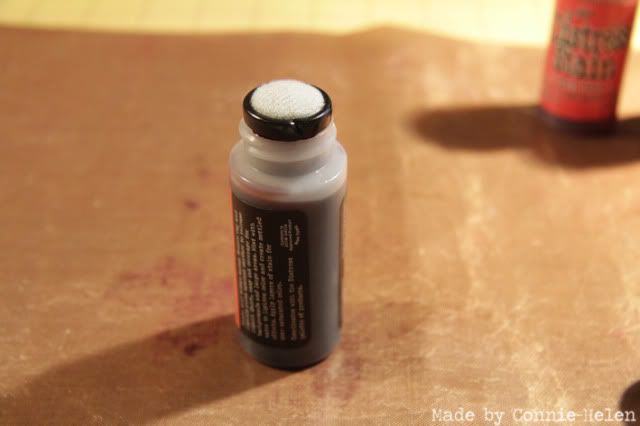
Før du begynner, så ser puten slik ut! / When it's brand new, it look's like this!

Gi puten et lite trykk før du begynner, og du hører et lite knepp! Stainen er nå klar til bruk!
Push down the cusion before you start, you hear a little "click". Stain is now ready for use!
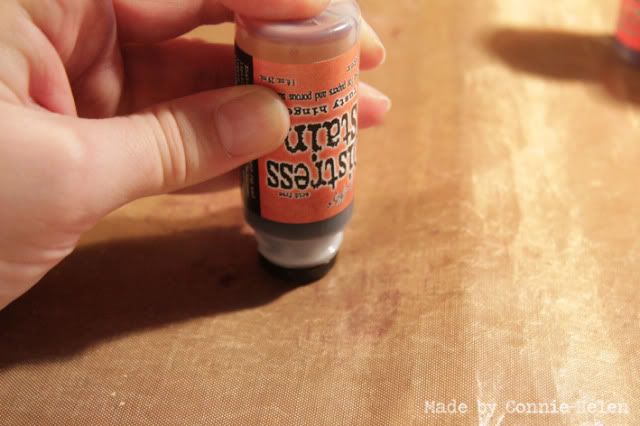
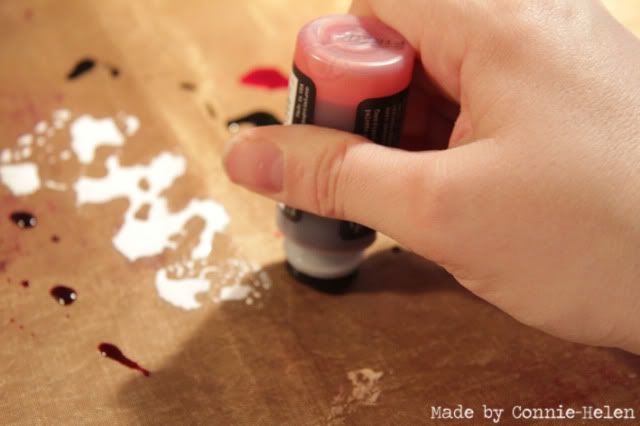
Trykk litt på flasken for å få mer blekk ut i puten, her har vi brukt en non-stick matte som underlag.
Gently press the bottle to release more liquid. Here we have used a non-stick mat to work on.

Bruk Stainen direkte på underlaget. / Apply liquid directly to your non-stick mat.
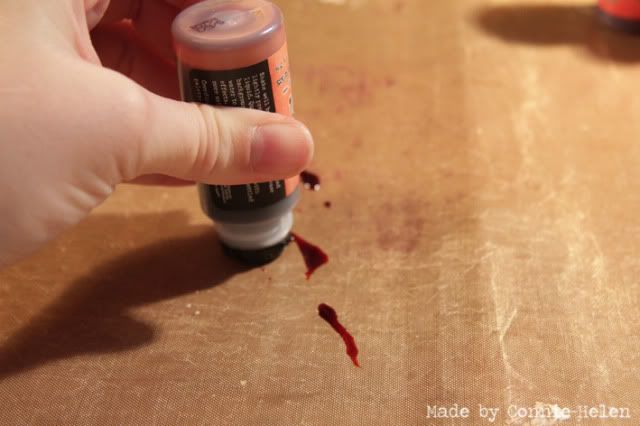
Avgi farge etter ønske, jo mer du trykker på flasken jo mer kommer det ut!
The more you press the bottle, the more liquid you get to work with!
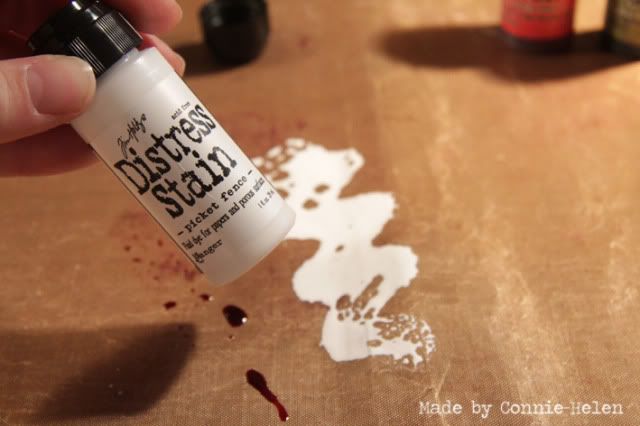
Den hvite er litt anderledes enn de andre fargene, og er den eneste flasken som må ristes godt.
Fargen blandes like godt med de andre fargene.
The white distress stain - Picket Fence - are slighly thicker than the other colours and the only one you have the shake really well before using it. It mix well with the other colours.

Her har vi brukt fargene "Barn Door", "Picket Fence", "Peeled Paint" og "Rusty Hinge".
Here we have used the colours "Barn Door", "Picket Fence" and "Rusty Hinge".
Når du bruker Stain direkte på en non-stick matte, så prøv å ikke blande fargene for mye. Dette er blekk med mye væske, og tar til seg andre farger om de blandes.
When you work on a non-stick mat try not to mix the colours to much as they stain the cusion.
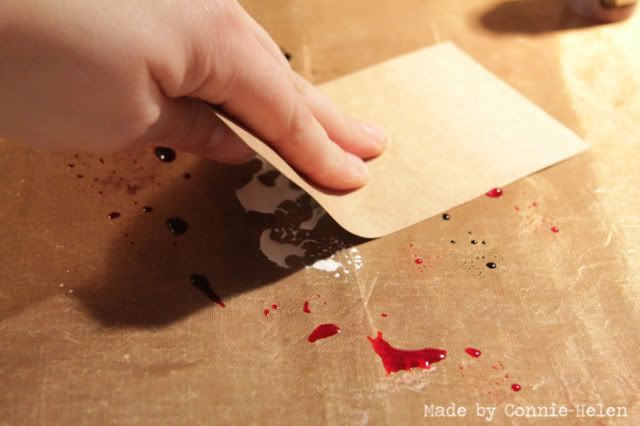
Her dras tagen rett i fargen, slik at fargene blandes. Dette kan gjentas til hele tagen eller bakgrunnen er dekket.
Pull you piece of paper through the colours on your non-stick mat. Do this several times until the whole piece is covered with Distress Stains.
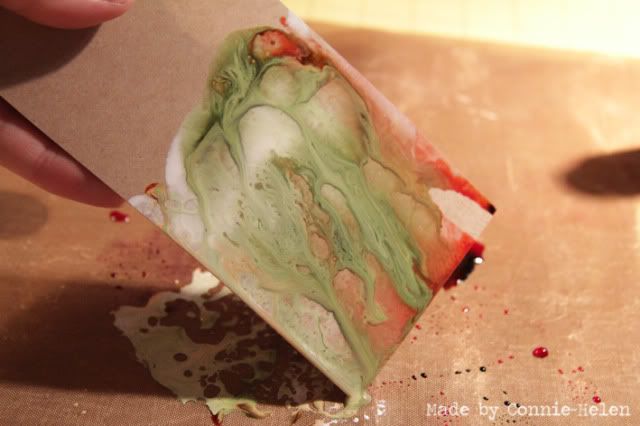
Den hvite Stainen gir fargene en opac farge. / White distress stain gives all the colours a "thicker" look.
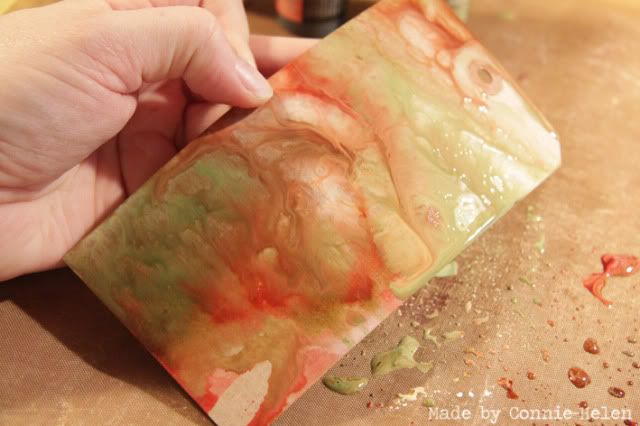
En flott bakgrunn er kreert :-) / A wonderful background are made ;-)
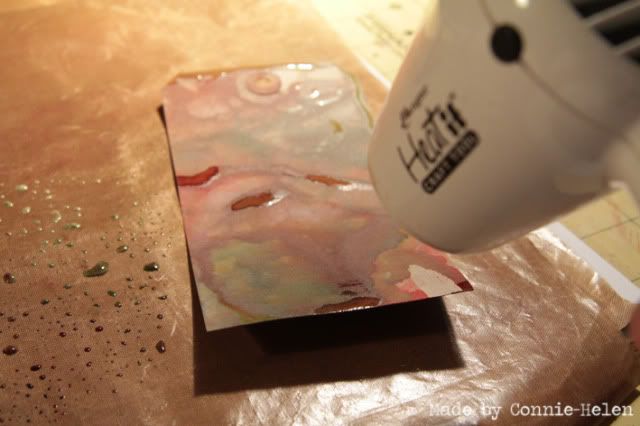
For raskere tørkeprosess, bruk varmepistol. / To speed up drying time use your heatgun!
Og her er vår lille tutorial for teknikk nr 2 / Our tutorial for technique no 2
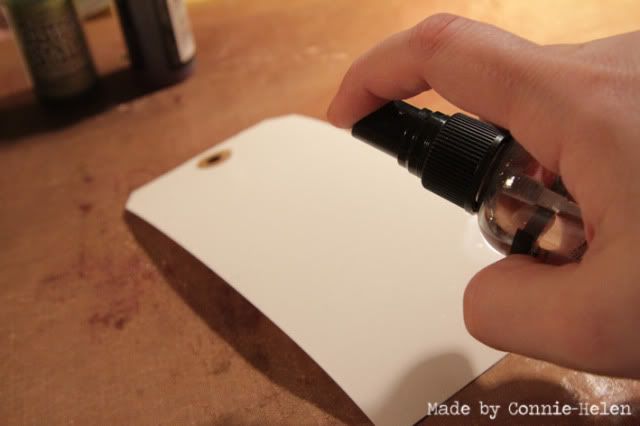
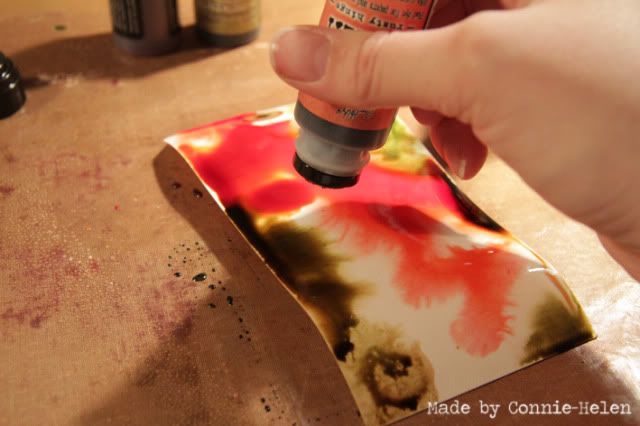
På teknikk nr 2 har vi sprayet vann på tagen før vi tilsetter fargene. Godt med vann!
On this second technique we have added water to the tag before we apply Distress Stain. Alot of water!
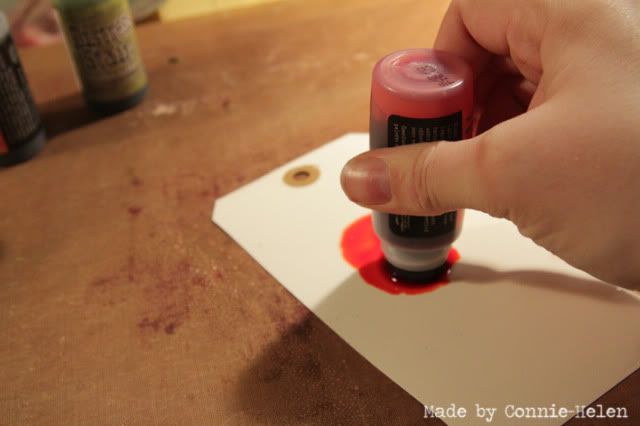
Begynn å påføre fargene, og her gjør det ikke så mye om du blander fargene litt. Papiret trekker til seg så mye farge at du ikke vil få den store overføringen.
Start adding distress stain. Here you can mix the colours a little bit, as the paper soak up most of the liquid.
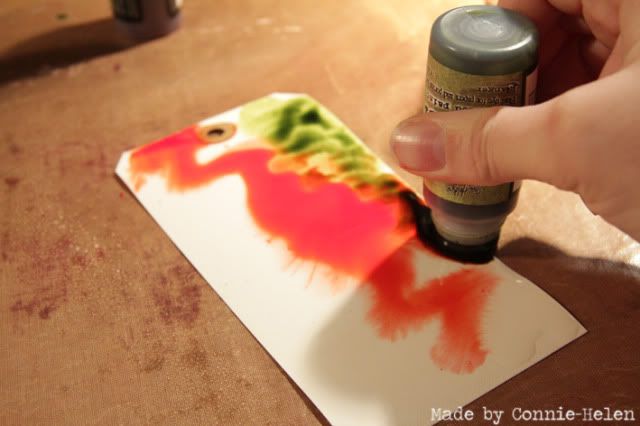
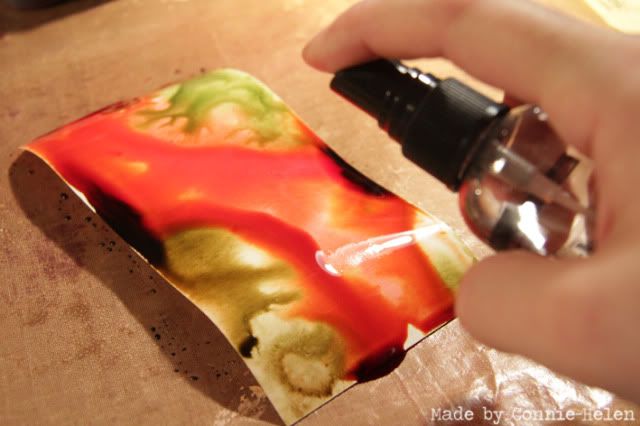
Tilslutt sprayes det på litt ekstra vann slik at fargene blander seg enda bedre.
At the end add some more water so the colours blend even better.
La gjerne fargene blandes ved å snu litt på tagen eller bakgrunnen.
Twist and turn the tag to mix the colours some more.
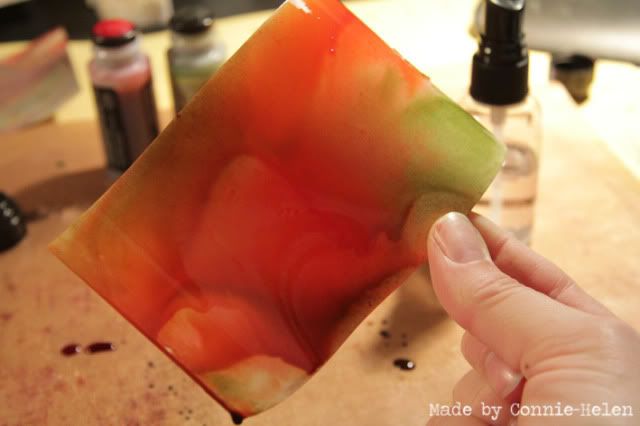

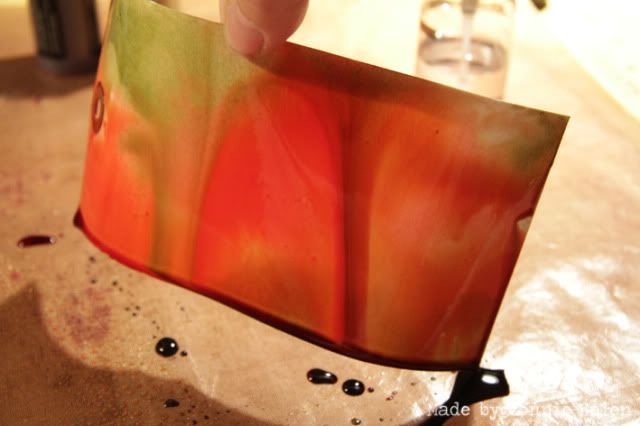
Bruk varmepistol for raskere tørking. / Use heatgun for faster drying time.
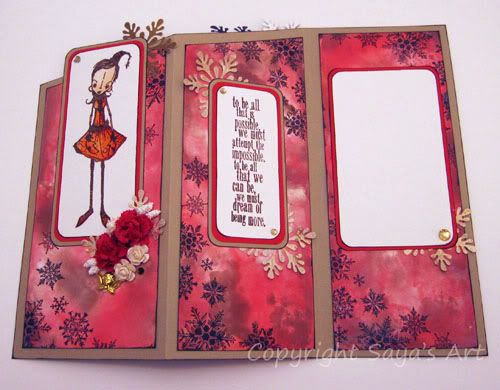
Og her ser du hva Artsy teamet har laget med Distress Stain og disse teknikkene.
Here's what our Artsy team have made with Distress Stain and these techniques.

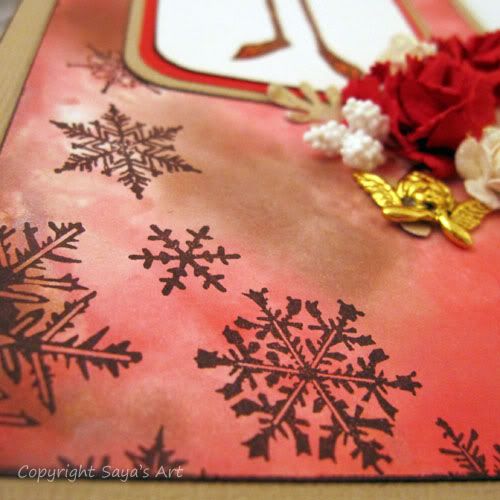
Distress Stain, Akryl maling, Friendly plastic, Glossy accent og bandasje farget med Distress Stain
Distress stain, acrylic paint, moulded pieces in friendly plastic, glossy accent, coloured bandage with distress stain.

Distress Stain, Gesso, Liquid pearl, Mini perler, Bandasje farget med Distress Stain
Distress stain, gesso, liquid pearl in circle, mini beads, bandage coloured with distress stain

Distress Stain, UTEE, Embossing pulver og tyll / Distress stain, UTEE, embossing powder, tulle

Distress Stain i fargene "Barn Door", Picket Fence" og "Vintage Photo". Vann. / Water.

Vi håper du likte tutorialene våre, kortene våre og ikke minst at du ble inspirert til å prøve noen av disse teknikkene selv ; ) Legg gjerne igjen en kommentar! Fortell oss hva du synes, vis oss noe du har laget!
Hope you liked our tutorial, our cards and that you got inspired to try out one or both techniques! Feel free to leave a comment! Tell us what you think, show us something you made!
3 comments:
Fantastic tutorial! I am really getting into distressing and you've taught me a lot!
Hugs,
Sheree
Det så morsomt ut, og så flott som det ble :o)
Very interesting tutorial, before reading/seeing it, I couldn't really figure out why I would want them when I already have the Distress Ink pads, and re-inkers, but now I understand.
Thank you
Judi
Post a Comment