Først må jeg fortelle en liten historie om navnet til dette kortet jeg skal vise dere I dag.” Tryllekortet” har ikke egentlig noe magisk ved seg. Sønnen min kom til meg for å vise et trylletriks, og jeg la nok bedre merke til hvordan han hadde brettet sammen trikset sitt, enn til selve trikset. Brettingen hans ga meg inspirasjonen til dette brettekortet, og navnet ”Tryllekort” har liksom bare blitt hengende ved.
*******
First I want to tell you a short story about the name of the card I`m about to show you. The“ Magic Card” it is not really magical. My son came to me to show me a magical trick, and I`m sorry to say I didn`t pay as much attention to the trick, as I did to how he had folded the papers he used for his trick. This inspired me to a new folding technique, and the name just came along with it.
Dette kortet består av tre deler som alle blir limt sammen til slutt.
*******
This card has three parts, and we will glue it all together in the end.
Kartong / Cardstock: 6” / 7” - Preg 1 ½” inn fra hver side./ Score 1 ½” in from both sides.
Kartong / Cardstock: 6” / 6” – Preg 1” inn fra hver side./ Score 1” in from both sides.
Nå har begge kartongene et midtfelt på 4”.
Bruk en bordpunch på de fire sidene, og sot kantene om du liker det.
*******
Now both pices have a 4” area in the middle .
Use a border punch on the edges, and distress all the edges if you like.
Her har jeg gjort klar kartong som dekker skrivefeltet, og som blir fronten på kortet
Den lille kanten er der for at fronten skal henge pent rett ned når kortet er ferdig.
4” / 7 ½”, preg ved 6”, og 6 1/8”.
*******
Here is the cardstock that will be the front of the card.
4” / 7 ½”, score at 6”, and 6 1/8”.
Det er på tide å pynte med mønsterpapir. Jeg har gjort klar fire tynne strimler, og fire brede strimler, til å dekorere alle sider av vingene på kortet. Hvor brede disse strimlene er kommer an på hvilken bordpunch du har brukt, så det må du nesten måle deg frem til selv:)
*******
It is time to decorate with patterned paper. I have made four thin and four thick stripes, to decorate all sides of the “wings” on the card. The size of the stripes depends on which border punch you have used.
Her har jeg dekorert vingene og de midtfeltene som vil bli synlig på kortet.
*******
Here I have decorated the wings, and the big areas that will show.
Her er andre siden. Vingene er dekorert, og de hvite midtfeltene vil limes mot hverandre til slutt.
*******
This is the other side. We will glue the white areas together in the end.
Her har frontkartongen fått mønsterpapir, både på utsiden….
*******
Here I have decorated the front on the outside…
…og på innsiden.
******
…and on the innside.
Innsiden er her ferdig med tekst. Pass på at teksten kommer rett vei:)
Jeg har festet dobbeltsidig teip til den lille klaffen.
*******
I have now made a text on the inside, and added some tape to the small flip.
Her er klaffen limt fast på baksiden av den minste kartongen.
*******
I fasten the flip to the white area on the smallest cardstock.
Mer dobbeltsidig teip…
*******
More tape…
Her har jeg limt alle delene sammen, de to hvite feltene mot hverandre, og frontkortet henger fint ned på midten.
Jeg har laget et skrivefelt, som blir skjult av fronten.
*******
Here I have fastened all the parts together. The two white areas against each other, and the front in the middle.
I have made a writing space that will be hidden under the front.
Her er kortet åpent.
*******
Here you can see the card open.
Og her ser du kortet mitt helt ferdig. Om du bretter de bakerste vingene bakover, og de fremste vingene forover, så kan kortet stå.
*******
And here my card is all finished. The card can stand if you fold the wings like you see in the picture.
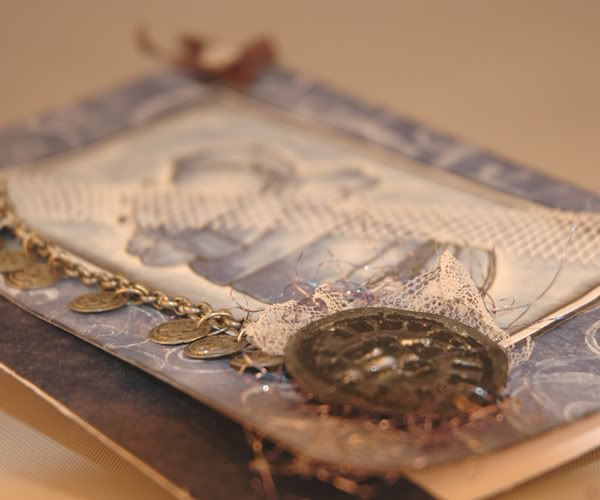
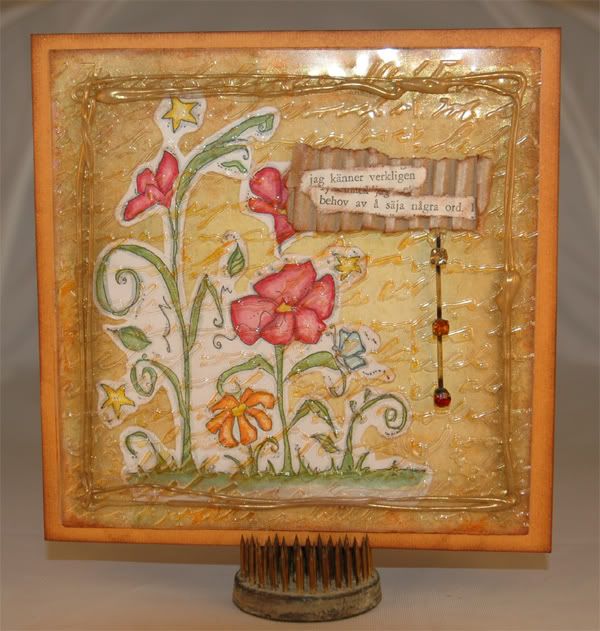
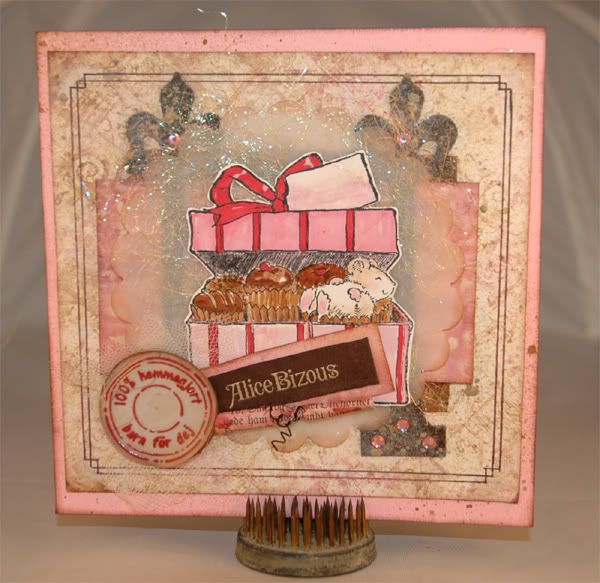
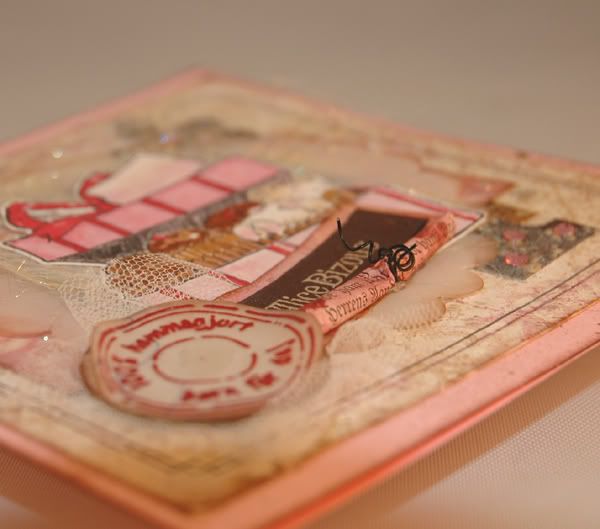
Her er et annet kort jeg har laget med denne bretteteknikken.
*******
Here is another card I have made with this folding technique.
Jeg håper du ble inspirert til å lage ditt eget tryllekort. Lykke til.
*******
I hope you got inspired to make your own magic card. Good luck.